

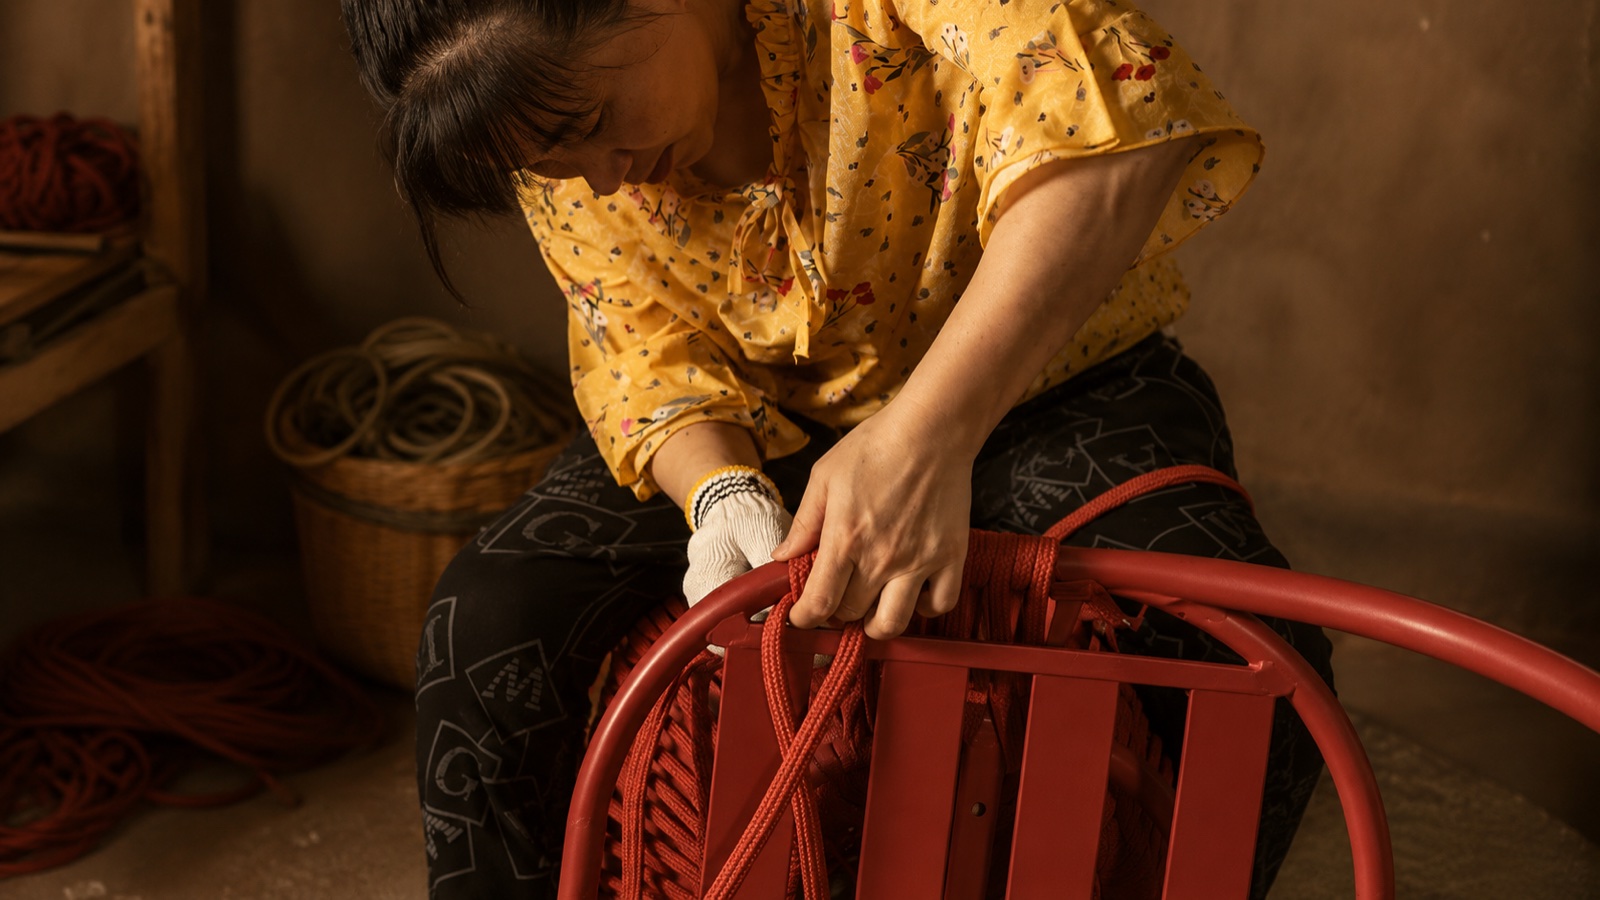
On this page
A reference image can communicate atmosphere, proportion and intent, but it is not a production specification. It does not reveal frame thickness, drainage, foam construction, hardware, tolerances, test requirements or how a product will be packed. Custom outdoor furniture development is the process of making those hidden decisions explicit without losing the original idea.
The most reliable projects use stage approvals. Each stage reduces a different kind of uncertainty: the brief controls intent, the drawing controls geometry, the sample controls experience, the pilot controls production and the quality record supports repeat orders. Skipping a stage may save days early and create weeks of correction later.
The goal of custom development is not one beautiful sample. It is a product the factory can reproduce and the project can maintain.
1. Convert the reference into a development brief
Collect the reference images, intended dimensions, quantity, project type, destination, target cost, timeline and exposure. Mark which visual features are essential and which may change to improve comfort, durability, manufacturing or intellectual-property compliance. A mood board without priorities leaves every compromise open to interpretation.
Add operational requirements: stacking, assembly, replacement covers, floor protection, wind handling, cleaning and packaging limits. If the product belongs to a larger collection, include the approved material palette and key proportions so it does not become an isolated piece.
- Intended use, user group and project environment
- Reference dimensions and non-negotiable visual features
- Approved or preferred materials and finish direction
- Quantity, target cost, delivery date and packing constraints
- Testing, certification and replacement-part requirements
2. Resolve feasibility in drawings
The engineering team translates the concept into views, dimensions, sections, material callouts and construction details. This is where seat angle, cushion compression, tube size, weld access, drainage, fasteners and assembly are reconciled. A product can retain its visual character while changing internally to perform outdoors and move efficiently through production.
Review drawings with comments tied to specific dimensions or details. Avoid approvals such as “looks good” when the team has not checked seat height, table clearance, arm position or shipping volume. Freeze the approved revision before sample construction and keep a clear change log.
3. Build and evaluate the prototype
The first prototype should be evaluated as a working object. Sit in it, move it, clean it, inspect the underside and compare it with adjacent products. Check comfort after more than a few minutes. Review welds, weave tension, cushion recovery, stability, glides and any point where water could collect.
Record every change with photographs and revised drawings. When the corrected sample is approved, identify it as the golden sample and sign the material references. This physical standard becomes the comparison point for pre-production and final inspection. If the sample cannot remain at the factory, create a detailed measurement and image record.
Never approve only the visible front of a custom product. Inspect the underside, internal support, drainage, hardware, labels and packing method.
4. Use a pilot and quality plan before full production
A pilot unit or small pre-production batch tests whether the approved sample can be repeated with normal tooling, workers and material flow. Confirm critical dimensions, finish consistency, jig accuracy, upholstery patterns and assembly time. Problems found here are less expensive to correct than problems found after a full order is packed.
The quality plan should identify incoming material checks, in-process checkpoints, final inspection criteria and acceptable tolerances. Use the golden sample and drawings together. Cosmetic zones, functional dimensions and packaging requirements may need different acceptance rules.
5. Control production, packing and handover
During production, monitor the steps most likely to drift: frame jigs, coating batches, rope tension, cushion profiles and mixed material junctions. Keep approved finish samples available on the line. Final inspection should verify quantity, product codes, dimensions, stability, finish, upholstery and carton labels before loading.
Packing is part of the design. Protect exposed edges, separate surfaces that may rub, control moisture and make hardware easy to find. For project orders, label cartons by zone or unit so the installation team can work without opening the entire shipment. Photograph representative packing and loaded container conditions for the handover record.
6. Preserve the specification for repeat orders
Archive the final drawings, bill of materials, supplier codes, color standards, cushion patterns, hardware, packaging and inspection criteria under one revision. Record any approved deviation from the golden sample. This package allows replacement pieces and later phases to be evaluated against evidence rather than memory.
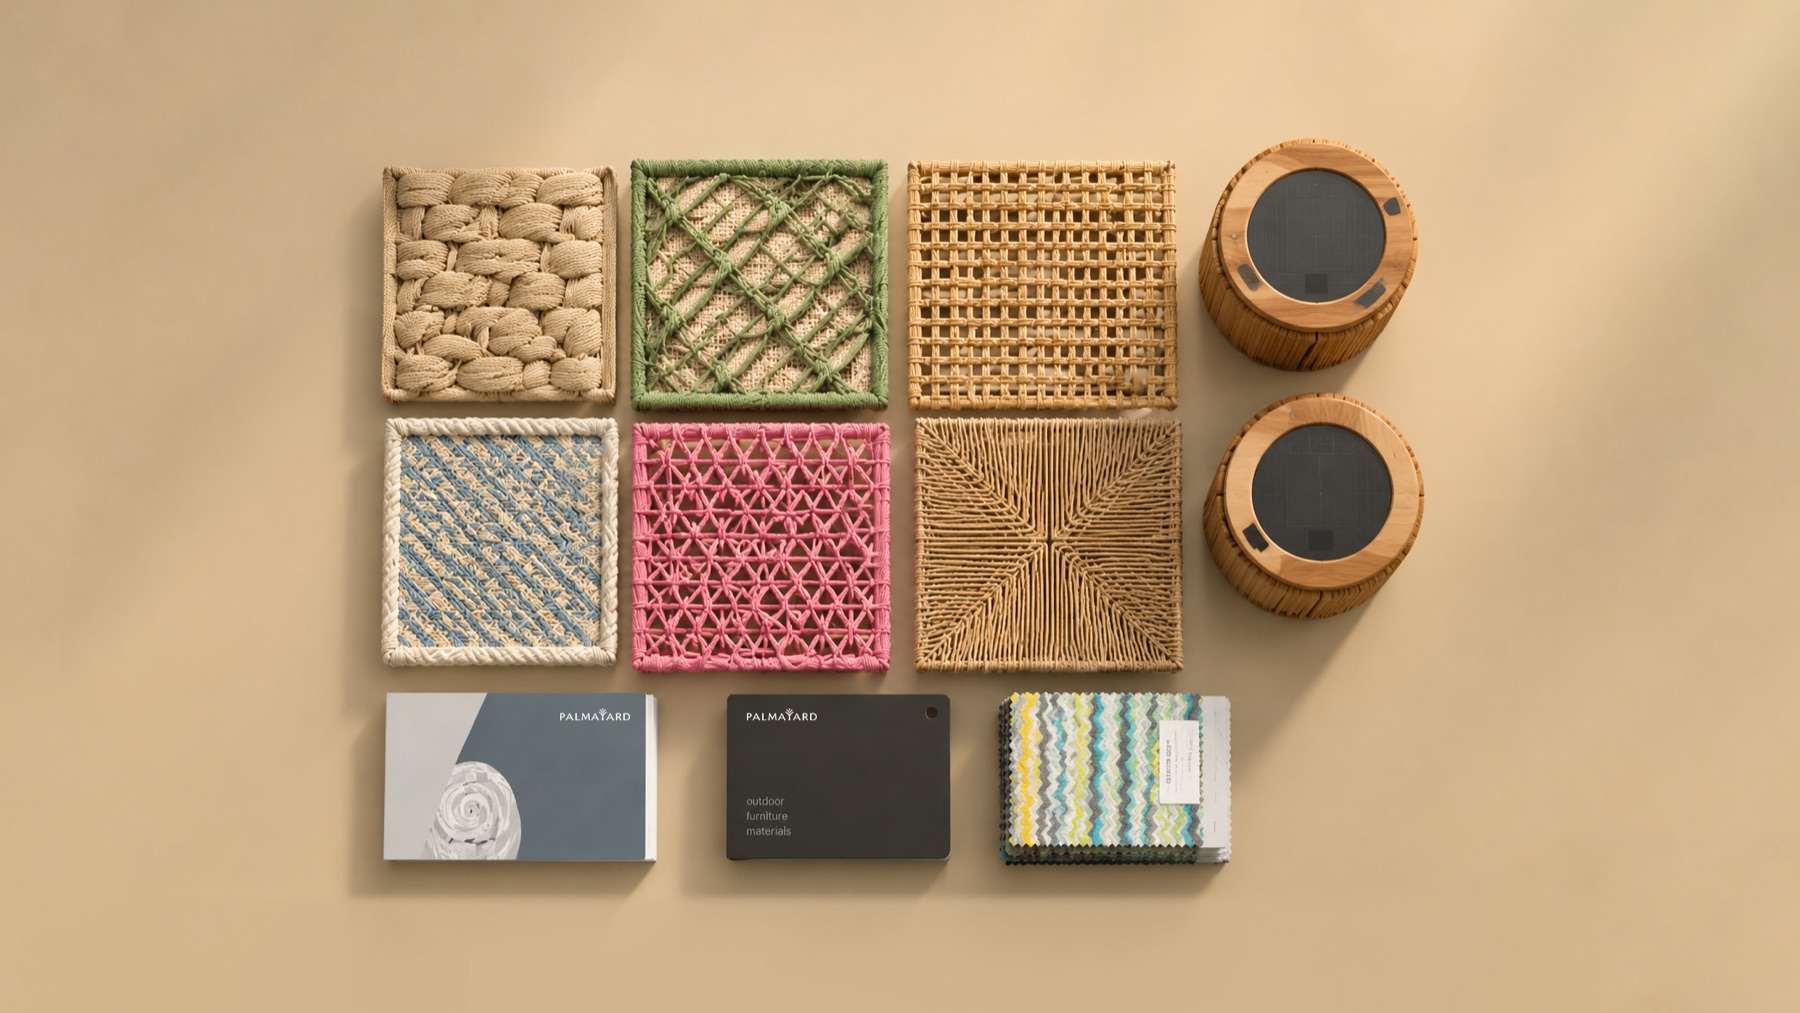
The same documentation also makes future improvement safer. A material can be updated for performance while the team understands which dimensions and visual details must remain unchanged. PalmaYard’s custom outdoor furniture manufacturing workflow connects the brief, sample and quality plan, while the material library supports early specification decisions.
Move from guidance to a project specification
Use the relevant commercial pathway when you are ready to compare products, develop a collection or review a live brief.